

In order for teams to step into high performance. it’s critical that they develop the practice of having effective conversations about what is and isn’t working. Yet in practice, the retrospective meeting is often the least-valued of the agile events: team members feel that their retros are boring, repetitive, and superficial.
In this article, we will show you how to design and deliver a really useful retrospective using LEGO Serious Play®1. We’ll cover the basics of this powerful facilitation technique, and give advice about how to build your own Serious Play kit using pieces easily available at the local toy store. We’ll also offer practical suggestions for how to design a retro that gets everyone talking (and building), and results in the team agreeing on action.
Where does this name come from?
“Moose on the Table” is a regional expression similar to the better known “Elephant in the Room” that refers to important things that nobody is choosing to talk about. Being Canadian, we felt that the moose was a better fit for our style than an elephant and that’s how the retro got it’s name.
Plan to bring with you:
- Sticky notes and sharpies.
- LEGO kits (see below)
- A timer
General notes
- After the very first exercise, builds will always be either 3 or 4 minutes. Pick a time and stick with it. We don’t time the story telling but do encourage people to move quickly.
- I always book two hours for a single team retrospective. We need time to get the meaningful conversations going and if we don’t have enough time, we simply won’t.
- Note that we’ve always done this retrospective with all participants sitting around the same table. Could it be done remotely? We haven’t tried.
PART 1 : SKILL BUILDING
Part 1 is all about skill building. Getting the participants used to working with the materials and with the process we’ll be following.
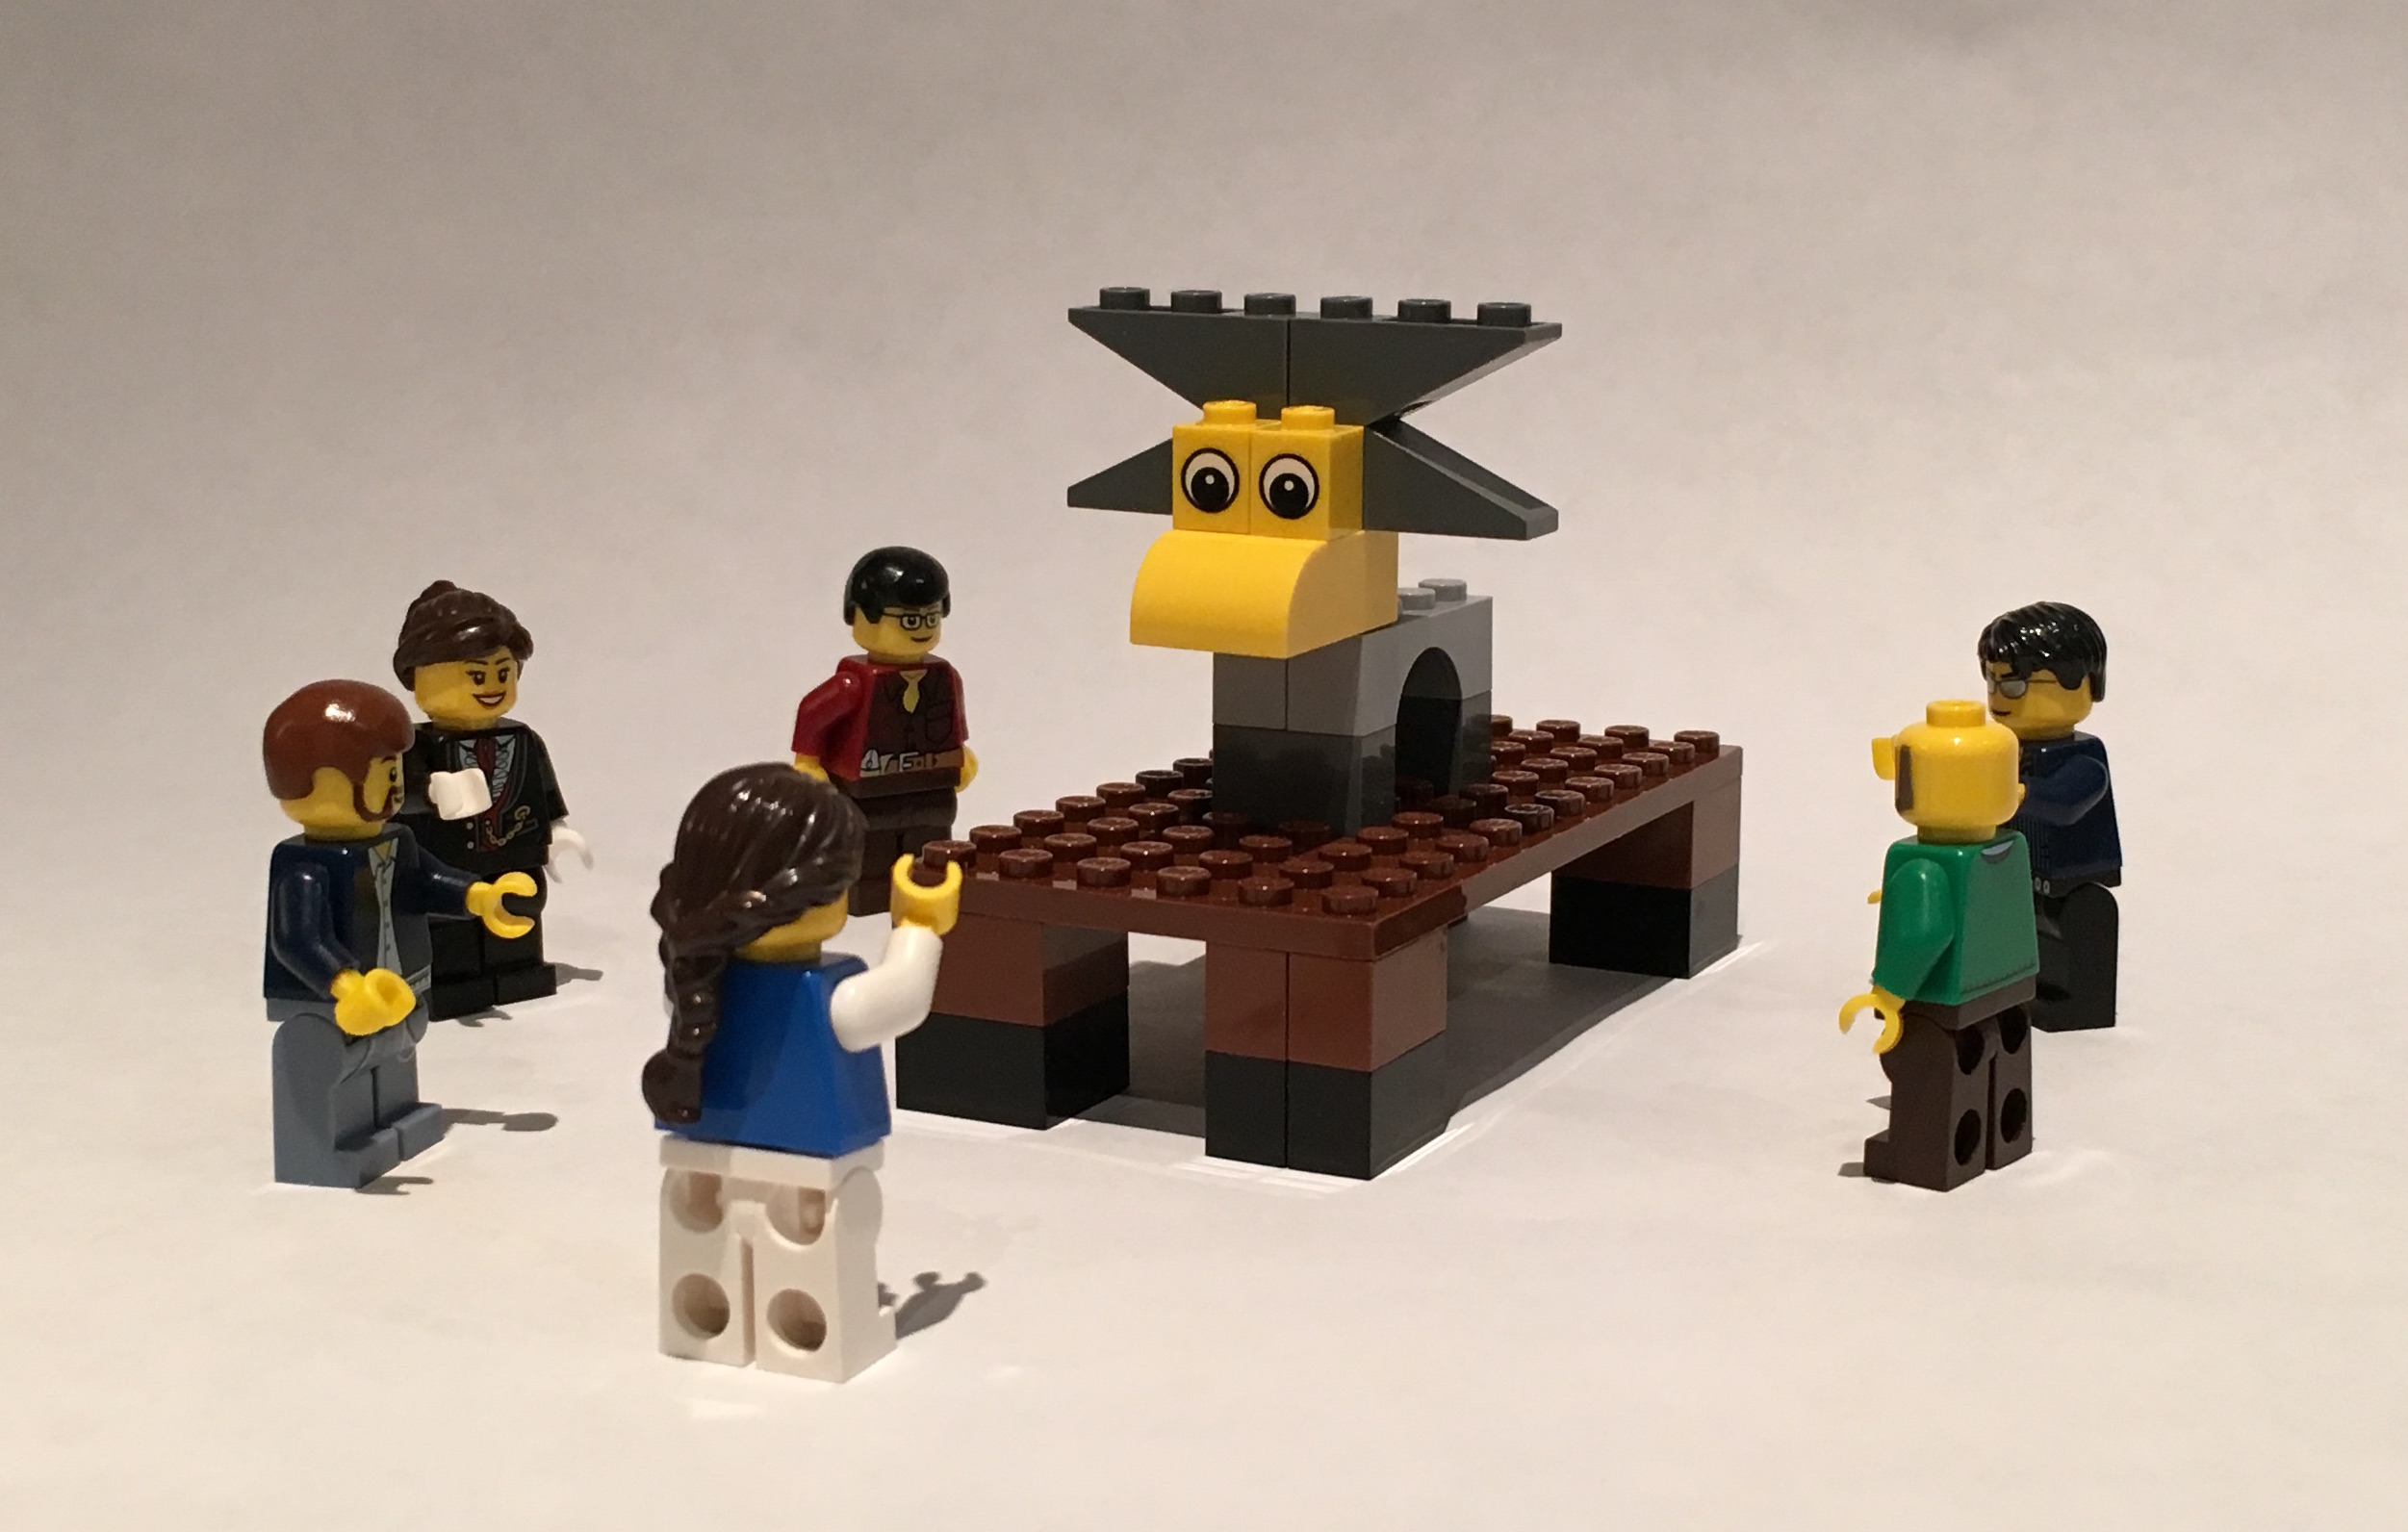
1a) Build a bridge (2 min build):
Build a bridge from LEGO bricks. The point here is just to get people comfortable with the LEGO bricks. Many have not used LEGO since they were a kid, and we often find participants who have never used LEGO at all before. This first build is purely to get those skills working again and get people comfortable working with the bricks.
The only constraints we give for the build are that:
- Two fingers must be able to fit underneath the bridge.
- The model must include a mini-figure2.
At the end of the build, show your bridge to other people at your table and tell them what’s interesting about it.
1b) Build from instructions (3 min build):
Using this diagram, build a moose.
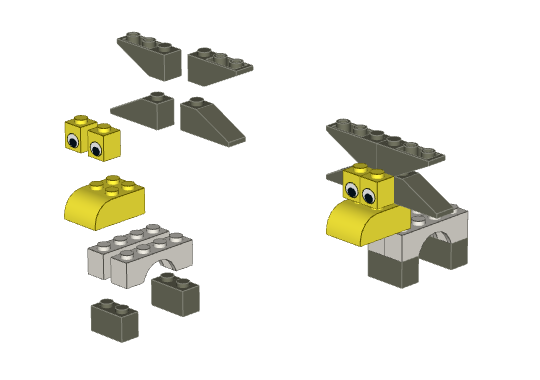
Show your neighbours. All the moose should be identical and if they aren’t then discuss why that might be.
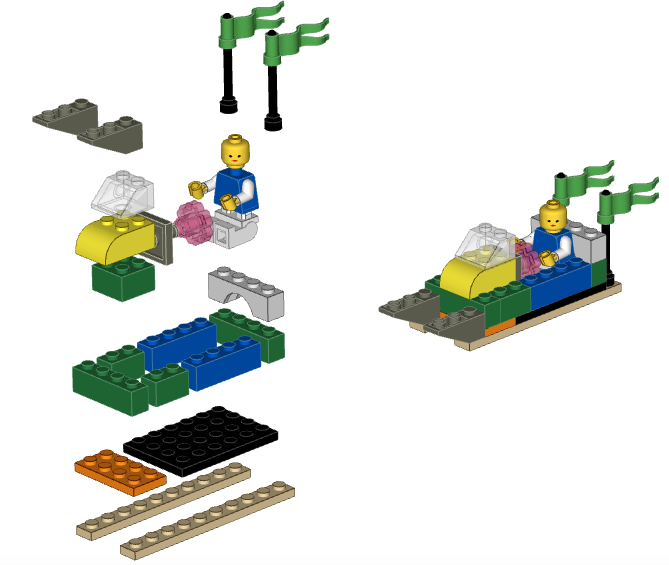
Note that if you’re doing the same retro for a group that’s already done it a few times and you feel that the moose had become too simple for them, try the snowmobile instead. That one is much harder though so be warned.
1c) Build to share a story (3 min build):
Building on your moose from the previous step, build something abstract. We often use a “nightmare project” as our example. You want a topic that evokes strong emotion and you also want to avoid anything that you’ll be touching on in the next section.
Tip: Sometimes a participant will be stuck and will just stare at the LEGO pieces in front of them. Encourage them to just start building something and the ideas will start to flow. “Your fingers know what to do.” This may sound somewhat magical but we’re tapping into the unconscious mind at this point and answers will come.
Each person now shares the story of their model with the others at their table. Encourage them to keep it brief, as some people will ramble.
It’s critical that everyone gets a chance to tell their story.
We want them talking only about the model and not about other things that might be on their mind. It’s ok to say “Does the red brick on top mean something?” but not ok to say “I had a similar experience….”
PART 2 : RETROSPECTIVE BUILDS
Now that we’ve demonstrated skill with the LEGO, Part 2 is where we get into the retrospective topics themselves.
We’re going to loop through part 2, three times with different questions to elicit a complete picture of the retro subject. We find that three is a reasonable number as it’s long enough to get some really good discussion and not so long that people start to get bored.
2a) Facilitator asks an open-ended question, such as:
- “What slowed you down the most?”
- “What went really well?”
- “What surprised you?”
- “What will you do differently based on what you’ve learned from this?”
- “What’s your biggest takeaway?”
2b) Participants build (3 minutes)
In silence, participants build a model that represents their answer to the question. Ask them to not check their phones or talk to their neighbours, as this will interrupt the flow we’re trying to achieve.
Sometimes people will want to talk because they’re getting a little bored waiting for the timer to run out. That’s actually part of the process and we’re ok if it happens. Real insights or aha moments require a brain pause and we often don’t allow ourselves to have those pauses.
2c) Participants share their stories
Tell their story as in part 1. All the same rules apply as above.
2d) Capture the stories on a sticky note
As each person finishes telling their story, someone (doesn’t have to be the same person who spoke) will capture a few words on a sticky note to capture the essence of that story. If you’re concerned about time, it’s ok if the writing happens at the same time that the next person is starting to tell their story.
When all stories have been told, there will be as many sticky notes on the table as there were participants, for this round.
2e) Repeat
Repeat part 2 as often as needed to capture answers for a variety of questions. As mentioned above, we typically do three loops through but you can tailor that for your environment.
PART 3 : Decide what action to take
At this point, we should have one sticky note per question per person on the table. Give everyone a moment to review the stickies currently on the table. Cluster if it makes sense.
Dot-vote to determine where the team will focus their attention in the next block of time
Pick the top 1-3 items and determine what specific actions the team will take to improve on those.
PART 4 : Done
- Ask everyone to separate all the LEGO bricks and put them back in the bags. This will make your life easier when you reorganize the bags.
Wrapping up
Getting LEGO kits
The easiest way is to purchase them from the LEGO Group, although unless you’re doing these activities regularly, this can be a very expensive proposition.
- Part 2000409: Window Exploration Bag This contains 500 of the smaller kits and is what most coaches use. With this, you can facilitate 500 people at once.
- Part 2000414: Starter Kit This is the larger kit and while it might look cheaper than the first one, be aware this this is only enough for one participant and the other kit has enough for 500 participants.
If you want to build your own kits from LEGO you may have around the house, you’ll want 50-60 pieces per person with certain specific pieces.
- At least one mini-fig2. If you only have one then also add something that could represent a second, like a piece with eyes. Mini-figs tend to be the most expensive pieces so only having one is ok.
- Something that moves (wheels, propeller etc)
- Something transparent
- Some random plates and bricks
Each kit should be as identical as possible so everyone is working with the same pieces
Packing it all up again
When you’re done, you’ll want to ensure that all the kits are properly stowed and that each bag contains exactly the right pieces. We use the Lean concept of poka-yoke for this. We print up a sheet containing an image of all the pieces and we place each piece on the paper until all the images are covered. When the sheet is full, you have one complete kit.
If you’re using the Windows Explorer Kits from LEGO then you can use our poka-yoke sheet.
Conclusion
This is a tremendously fun retrospective technique that can get even the quietest group talking and brainstorming. It does take some effort to prepare and run it though.
Have some fun!
-
LEGO Serious Play® is a business facilitation technique created by the LEGO Group and that uses LEGO bricks. By tapping into play, this uncovers deep unconscious behaviour to get conversation going that would be difficult to do in other formats. We are both trained facilitators in this approach. ↩
-
What we call “mini-figures” or “mini-figs” are the little LEGO people. ↩ ↩2